Design Format
Embroidery files must be in .dst format. If you don’t have a .dst file, please contact our team to have it digitized for you at $30 per logo.
Please note that files will be converted based on your decoration size requirements and cannot be resized once converted.
- Chest: Maximum width 4" or height 3.5" for most products
Hat: Maximum width 4" or height 2.25"
Bag: Typically 5-7" wide, depending on the product
Uploading Your File
First, navigate to your Store page.
Upload your .dst file by navigating to the "View Embroidery Artwork" tile and clicking "Add+" to drag or upload your file.

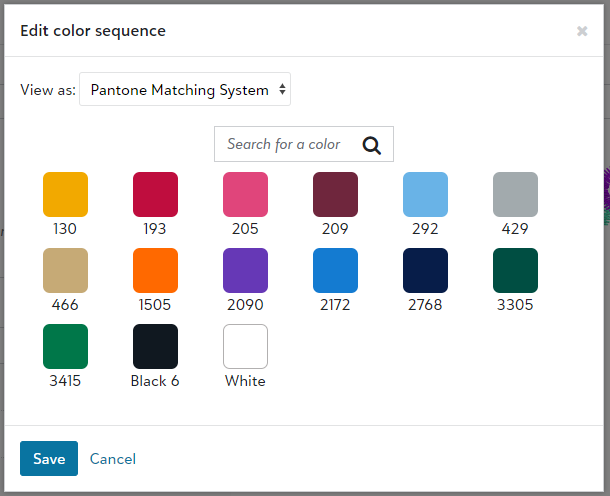
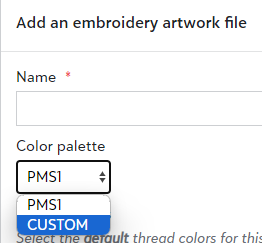
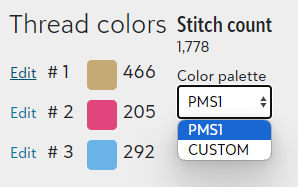
Choose from our selection of 15 popular standard thread colors for your logo. If these colors do not meet your needs, you can switch to the "Custom" palette, which provides access to approximately 100 additional thread colors.
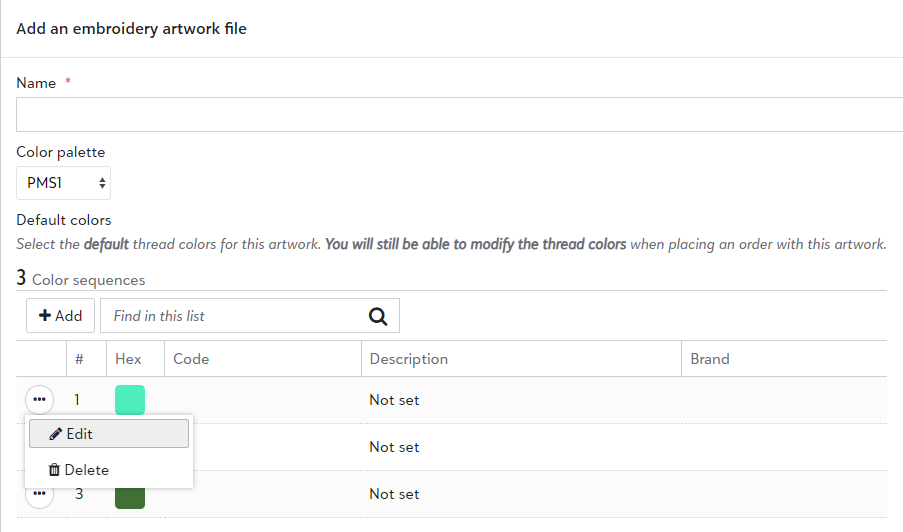
To change a color, select the three dots next to each color in your logo and click "Edit" to choose from the available options.
After selecting your colors and naming your file, save your embroidery artwork. It’s now ready to be used in product designs.
Please note that embroidery files contain a fixed number of color sequences. While you can choose the color for each sequence during the setup of your embroidery artwork, the "Add" button does not create additional color sequences. If your file does not include the correct number of sequences, please contact your account manager for assistance.
To set up embroidery artwork with different color combinations, simply re-upload the DST file and select your new color options.
Using embroidery artwork when adding products
When building a product and choosing embroidery as your decoration method, you’ll be able to select from your uploaded embroidery artwork.
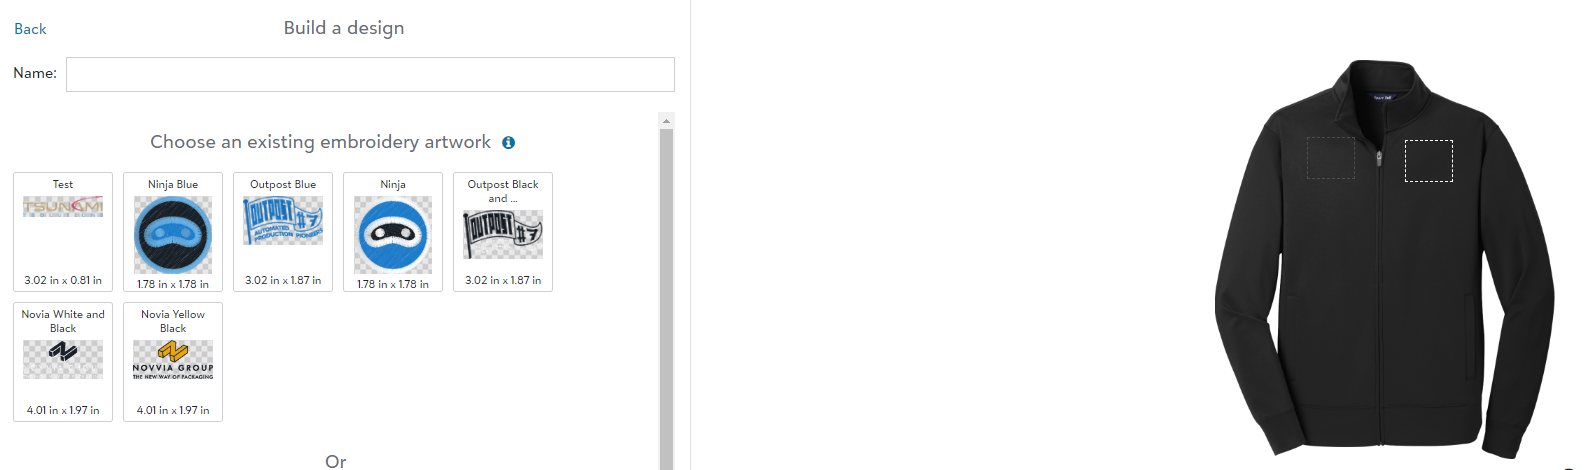
You can center the logo, but resizing is not possible. To adjust thread colors (e.g., to all white or all black), click the blue "edit" button under "Thread Colors." You can also modify the color palette here if necessary.
Once you are happy with your embroidery artwork you can choose garment colors, and save your design.