Nesting products helps keep your store streamlined by allowing you to add a variation of design to an existing product. Nested products will show up in the online store under the parent product's listing.
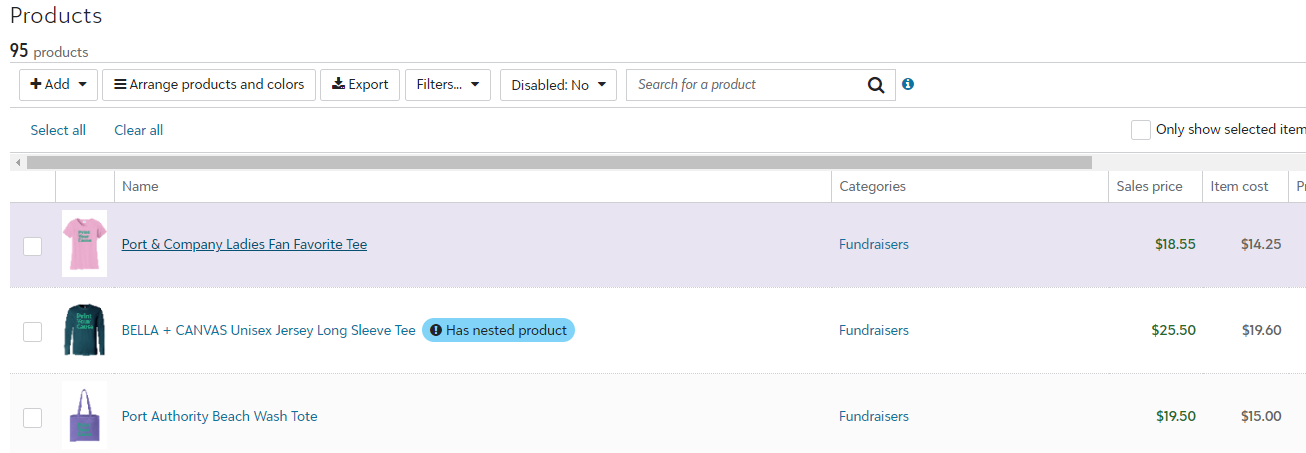
First, start in the Products section of the management portal.
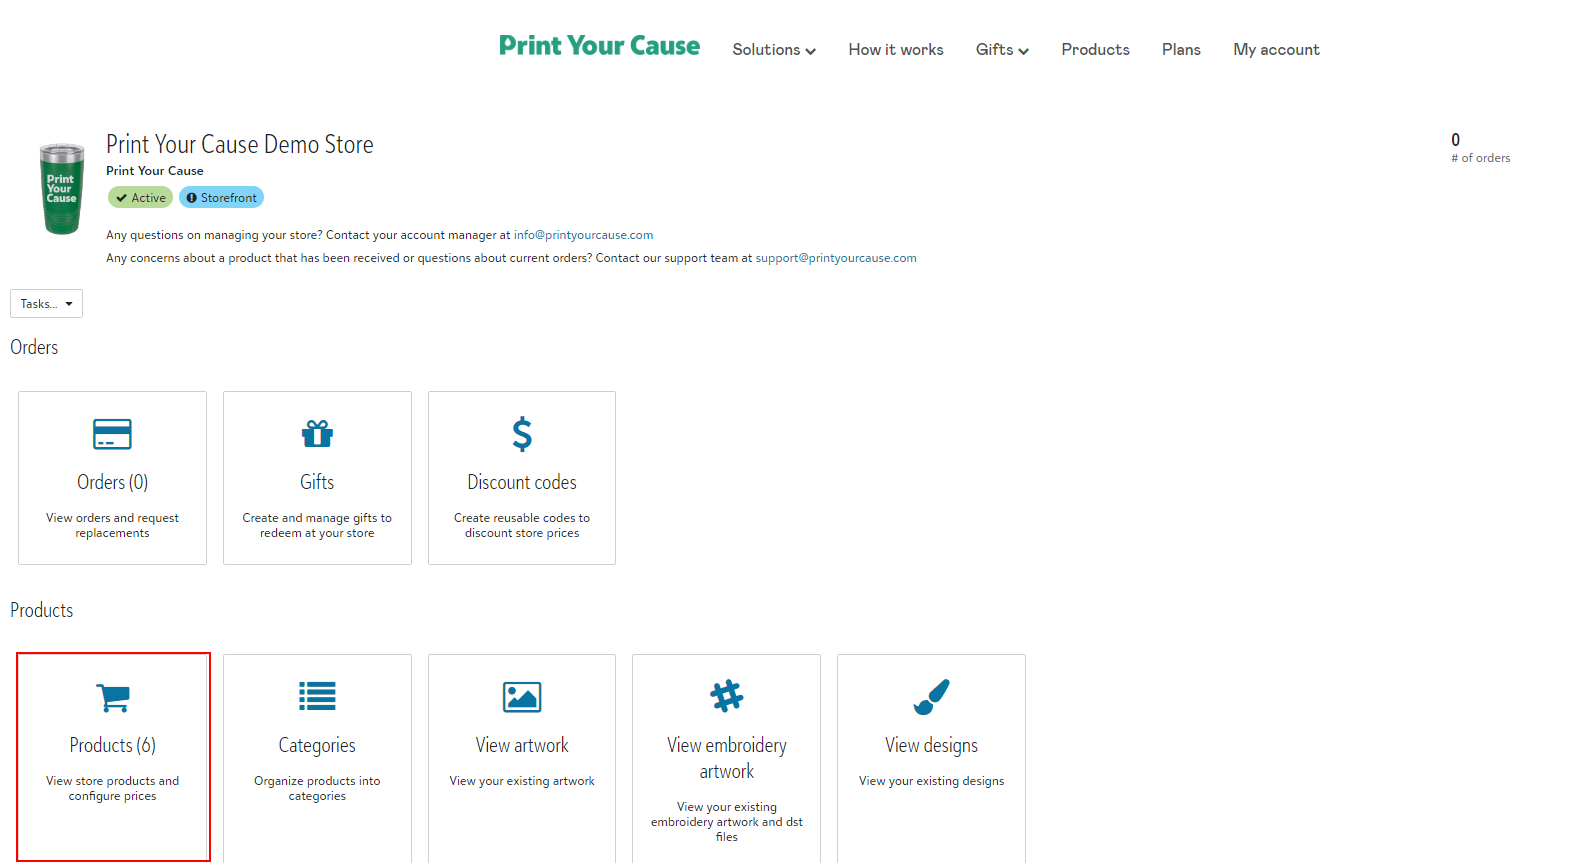
Choose the product name link that you want to add a nested product to.
.png)
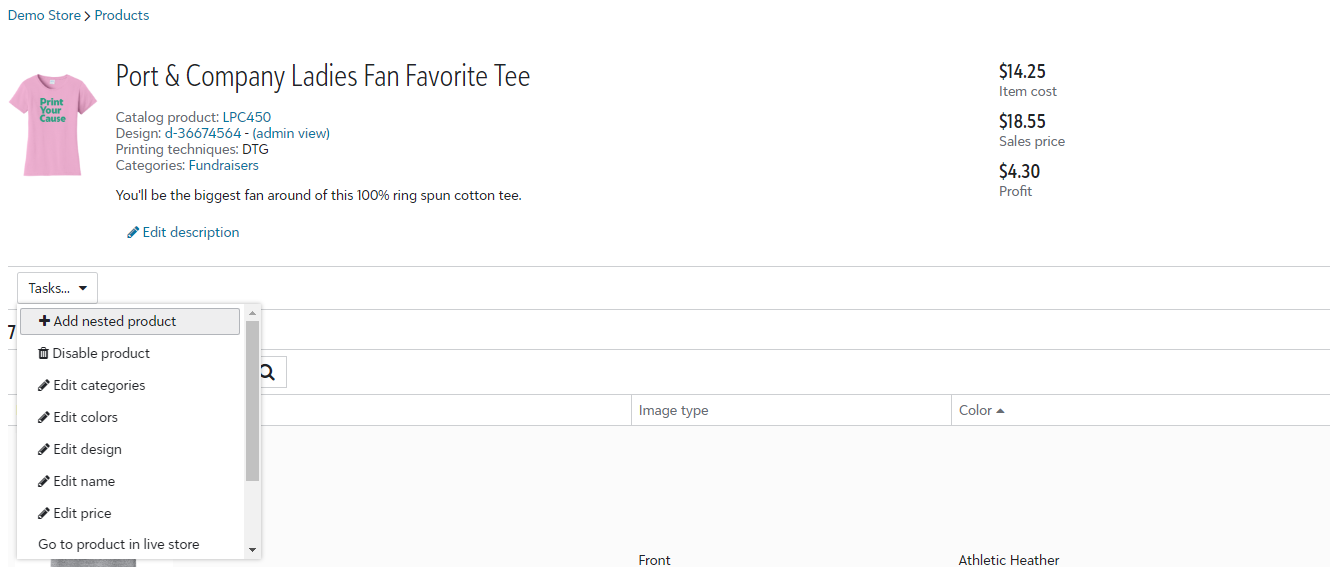
Under the Tasks dropdown, you will find an "Add Nested Product" button
.png)
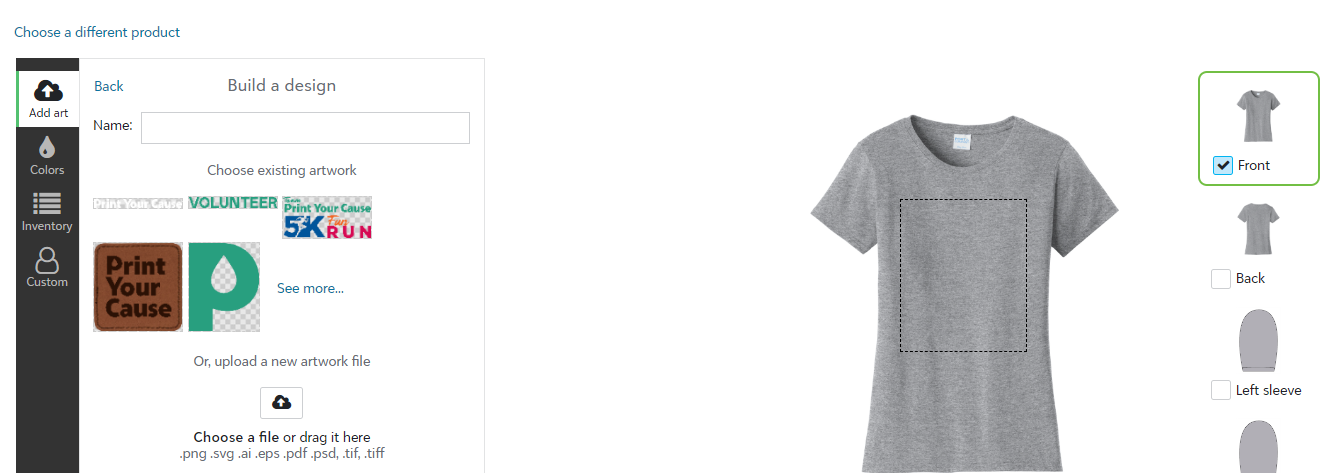
Upload your new artwork: just like with your original design you'll be able to select an existing design, or upload new art files and select size, placement, and other details
.png)
Learn more about the available decoration methods and how to prepare your art files here.
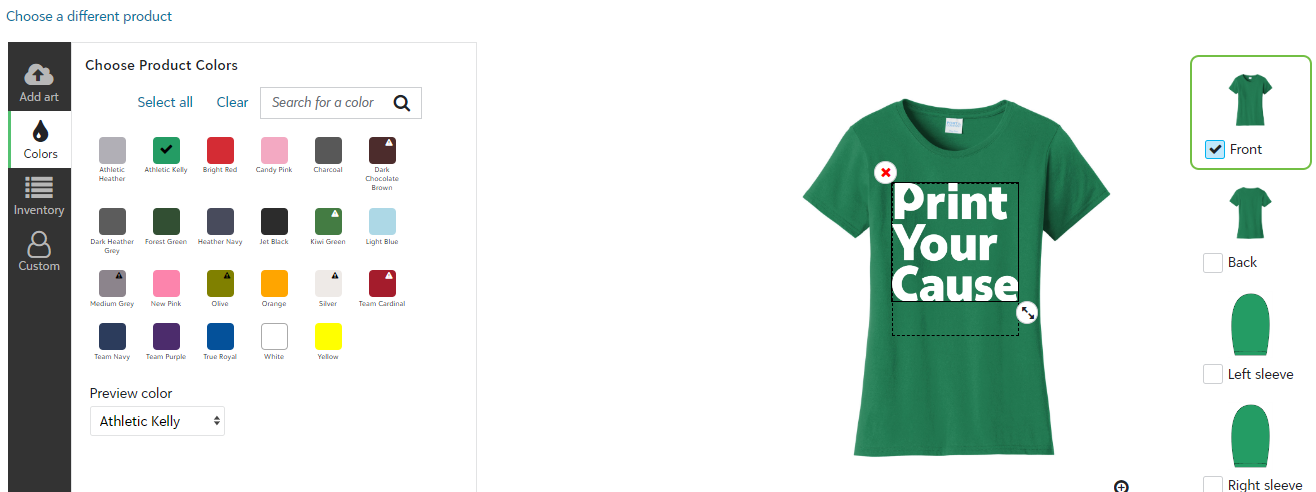
Select the garment colors. These colors should be different than the original product's colors.
When you select the garment colors, a mockup will automatically generate on the right hand side. If you have art set on the back and/or sleeve(s) of the design, easily select the location to view the mockup.
These are the mockups that will auto generate to your webstore.
.png)
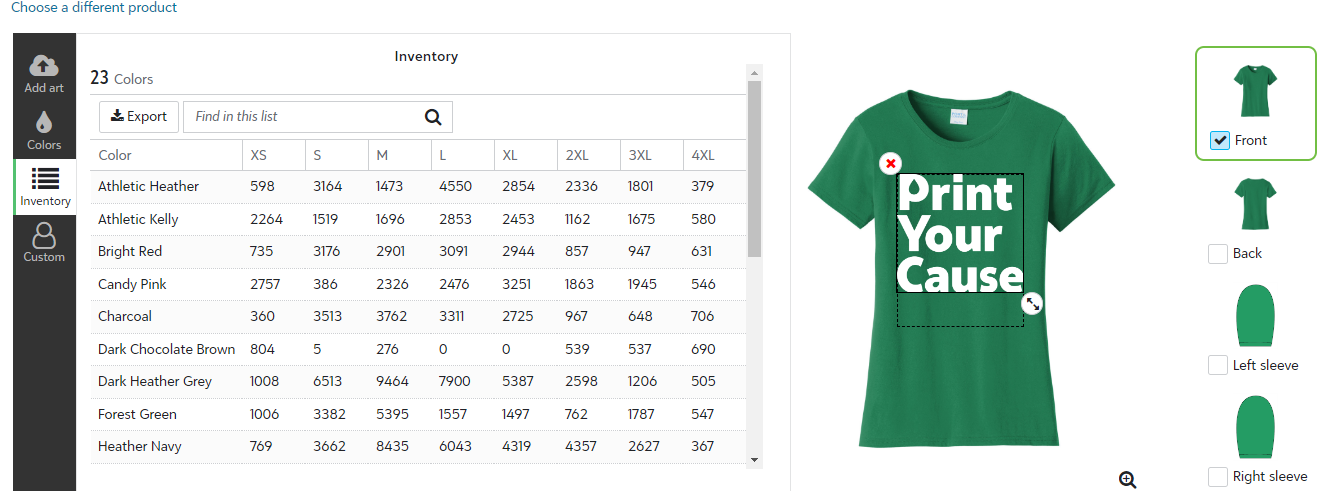
Confirm inventory: if an item is low on inventory a warning will populate. Since our inventory is pulled live from the suppliers, if something goes out of stock, the option to order will automatically be listed as "Out of Stock" from your webstore until it becomes available again.
.png)
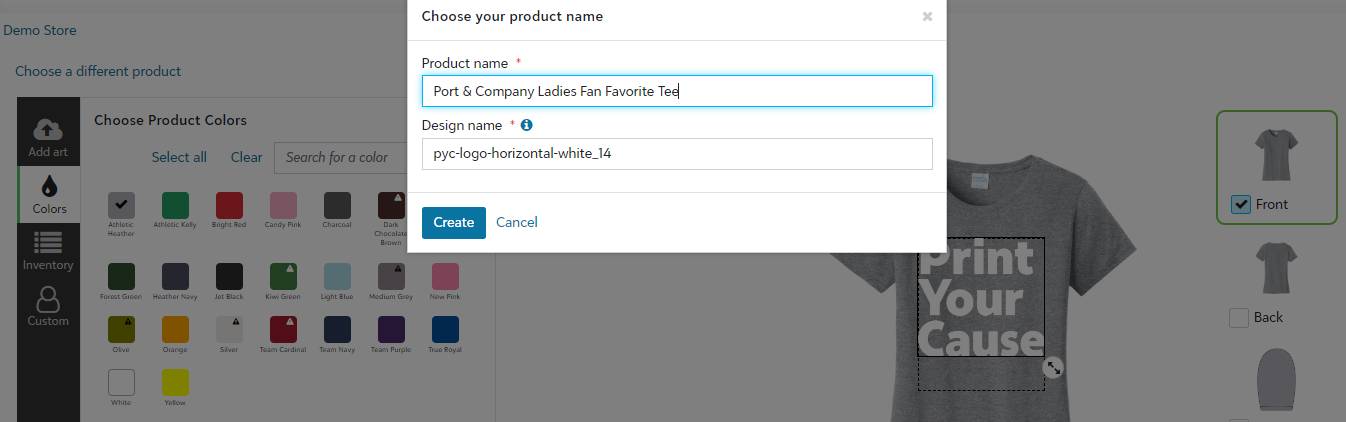
Create and name product: select Save product and you will see a popup asking you to name the product. You will also enter a design name so you can use this same placement and size on other garments.
.png)
Congratulations - your nested product has been added!
Still need assistance? Reach out to us at info@printyourcause.com.